The BLAST pivot completed assembly this morning. It never gets disassembled, so this is the only chance to see it (well, except that there’s a second pivot to build for Spider, but let’s ignore that). Barth, Laura, Juan, and a machinist (Frank?) did the assembly. Pictures courtesy of Juan.
The process is actually quite tricky since the rotor has some fancy ultra-powerful magnets on it. A mill is used to keep the rotor and stator aligned during insertion. The process started last week with initial fit checking, bearing greasing, and some assembly. This morning was motor gluing day—the most exciting day of all.
- Laura fit checks motor. The plastic piece on rotor is placeholder for magnets.
- Fit checking of steel and aluminum bits of rotor shaft. Barth has funny white gloves.
- Steel load-bearing portions of the pivot sit on the mill. There’s a bearing between them.
- Stator is assembled with set screw for full fit check. Barth took off his gloves.
- More assembly of stator on mill
- Barth examines it
- Closeup of mill mounting. Mounting is fun.
- Preparation for complete test fit.
- It Fits!
- This morning. Gluing day begins.
- Bare motor stator. It will never be so again.
- All surfaces need cleaning. Notice fancy chemicals (and magnificent product placement)
- Okay, so we do use better chemicals for the next stage.
- Demonstration model (Barth) shows off product
- Laura glues the squeaky-clean stator
- Look at her go!
- The stator gets attached to its housing
- Now stator is attached to its housing
- Now the rotor needs cleaning
- The rotor glue comes with special cleaning spray
- Laura sprays and, apparently, inhales a lot. She loses two days off of her life.
- Now the rotor gets glued
- The fancy magnets are attached to the rotor shaft.
- The complete rotor shaft (minus steel part for the top)
- The stator gets attached to the steel bits on the mill
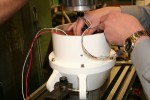
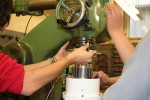
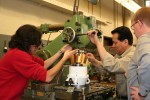
- Rotor insertion starts. Will it work? Juan decides to do non-photography work.
- A protective copper sleave is removed now that insertion is complete-ish
- The plate for the alignment bearing is lowered into position
- And gets attached. Insertion ended without catastrophic magnet-sticking! Barth tries motor out.
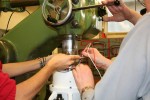
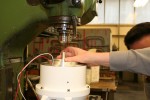
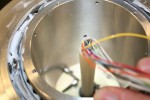
- Resolver cap is removed, and slip ring wires are fed through. The alignement bearing is greasy.
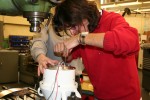
- Juan bolts something down (?) Just more proof that he did some real work.
- The bottom cap and resolver are attached.
- The pivot is complete in all its upside-down glory
- Laura rides the cart to keep the pivot upright. Otherwise it falls apart
- Laura rides up ramp
- Finally, the pivot arrives at the highbay. I’m inside soldering. No pictures of that.
- Random picutre: big milling bits (?)
- Random picture: more Spider inserts for pickup
- Random picture: the entrails of a Spider insert
- Random picture: Knight conquers insert. She’s crafty like that.




Leave a Reply